
- Transactions
- User Journey: Add a Transaction
- User Journey: Import Transactions via CSV Upload
- User Journey: Add a Rule
- User Journey: View & Manage All Rules
- User Journey: Apply Filters on Transaction List
- Export All Transactions
- User Journey: Show All Transactions
- User Journey: Update Transaction
- User Journey: View Transaction History
- User Journey: Delete a Transaction
Transactions #
Track and manage your financial activity across all account types with advanced control:
- Transaction Management: Access all your transactions in one place—automatically fetched via Plaid, added manually, or imported in bulk for convenience.
- Account Integration: Transactions are linked to accounts such as checking, savings, credit cards, cash, uncategorized, and others.
- Custom Rules Engine: Set up custom rules to automatically rename or re-categorize transactions based on keywords or patterns in the transaction names, making your data cleaner and easier to analyze.
Add category user journey:
Goal: Add a new category for organizing transactions or budgeting.
Entry Points: #
- From Budget section → “Add Category”

- From Transaction editing screen → “Create New Category”

Steps: #
- User clicks “Add Category”
– Opens New Category Form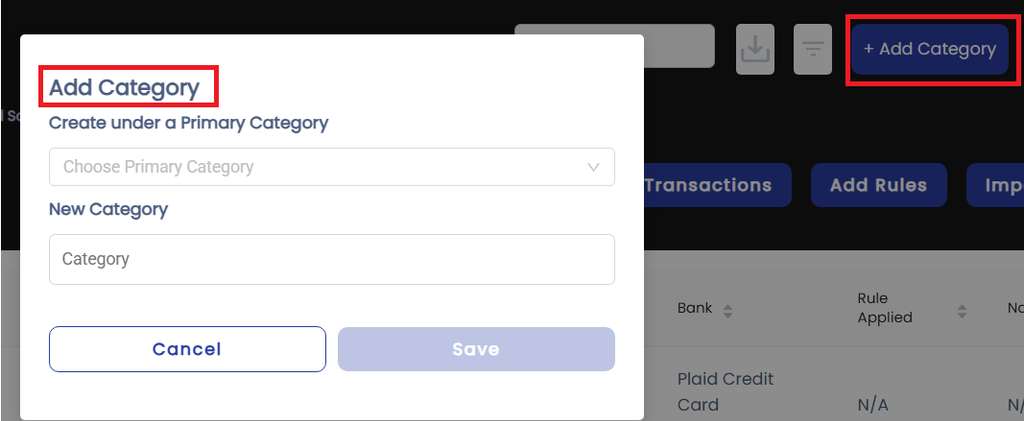
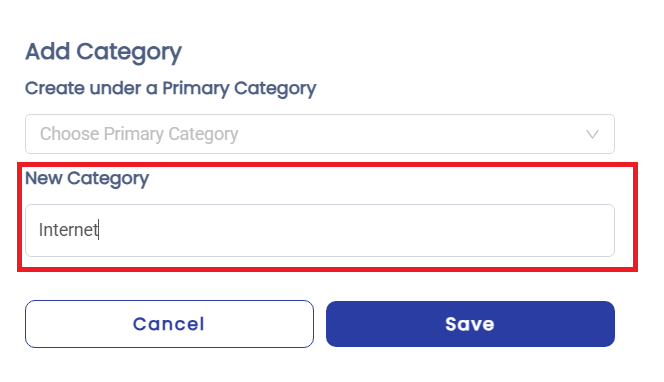
- User enters Category Name
– e.g.,”Utilities”, “Internet”
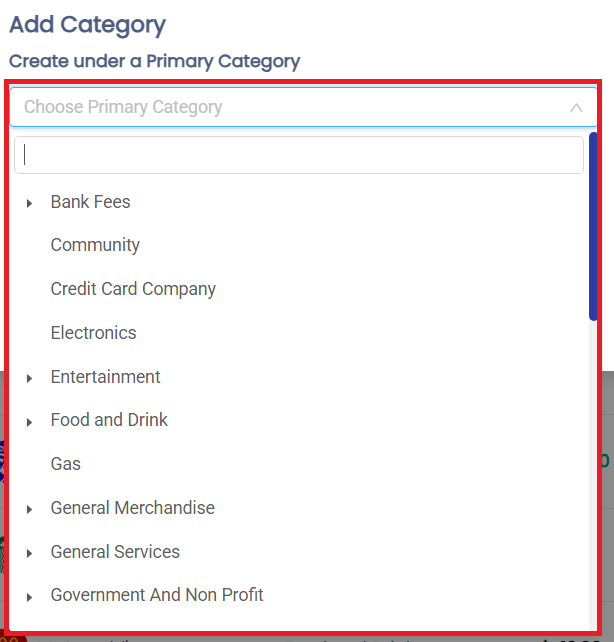
3 .User chooses whether to assign a Primary Category:
– Dropdown: “Select Primary Category (Optional)”
– Options populated from existing categories
- Decision Point:
- If Primary Category is selected:
→ The new category becomes a Subcategory under the selected Primary
e.g., “Internet” becomes a subcategory of “Utilities” - If no Primary Category is selected:
→ The entered category becomes a Primary Category
- If Primary Category is selected:
- User clicks “Save”
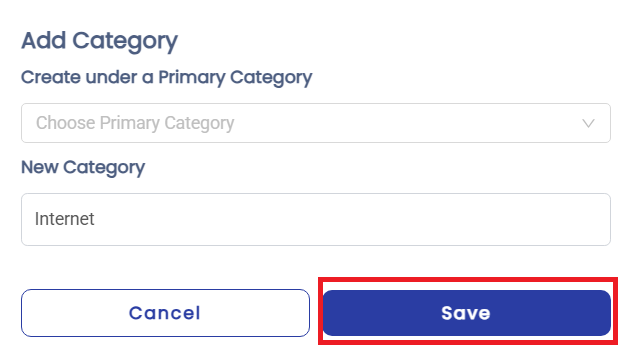
- Confirmation:
- Category is added to the system
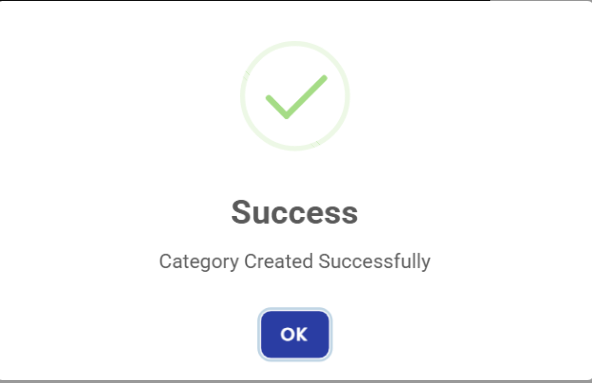
- Appears in category list (structured with nesting if subcategory)
- Category is added to the system
User Journey: Add a Transaction #
Goal: Manually log a transaction (either expense or income) into the system.
Entry Points: #
- From Transactions tab → “+ Add Transaction”

Steps: #
- User clicks “Add Transaction”
- Opens the New Transaction Form
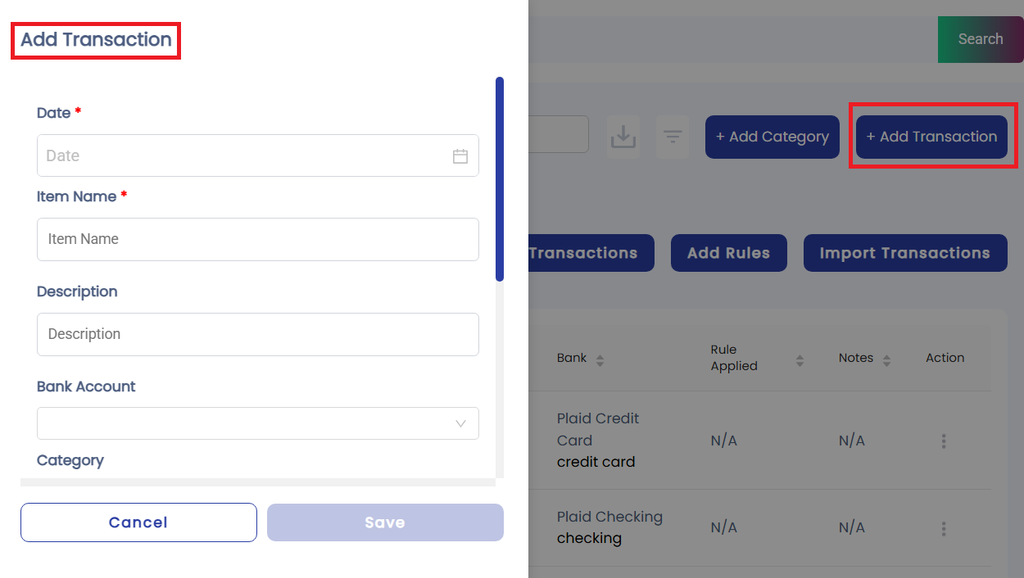
- User fills out the form:
- Date:
Select the transaction date using a date picker
(Default: today’s date) - Item Name:
Enter a short, recognizable name (e.g., “Target”, “Paycheck”)
(Used for rule-matching if applicable) - Description (optional):
Enter a longer detail (e.g., “Weekly groceries” or “March Salary”) - Bank Account Dropdown:
Choose from linked accounts: Checking, Savings, Credit Card, Cash, etc. - Category Dropdown:
Select an existing category or click “Create New Category”
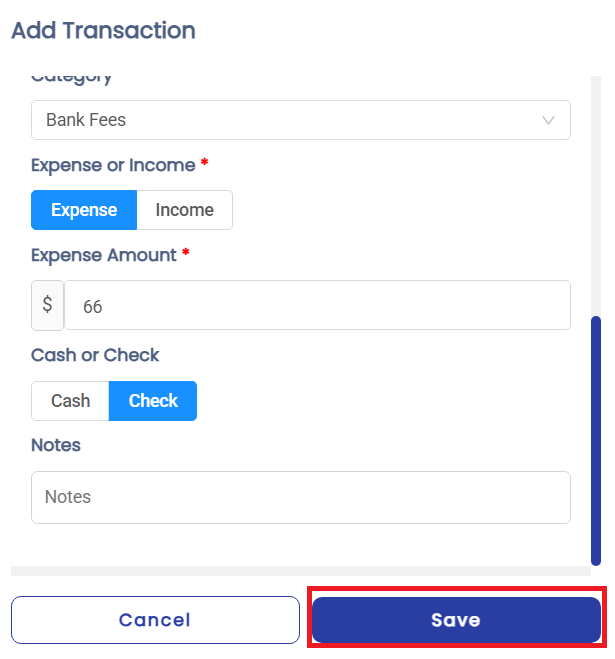
(Nested categories shown if subcategories exist) - Type (Expense or Income):
- Choose either Expense or Income
- Amount:
Input numeric value
(Validation: must be greater than 0) - Payment Mode:
Choose either Cash or Cheque - Notes (optional):
Add any additional context (e.g., “Split with roommate”)
- Date:
- User clicks “Save”
User Journey: Import Transactions via CSV Upload #
Goal: Upload a batch of transactions through a properly formatted CSV file.
Entry Points: #
- From Transactions tab → “Import Transactions”

Steps: #
- User clicks “Import Transactions”
- Opens the CSV Upload Interface
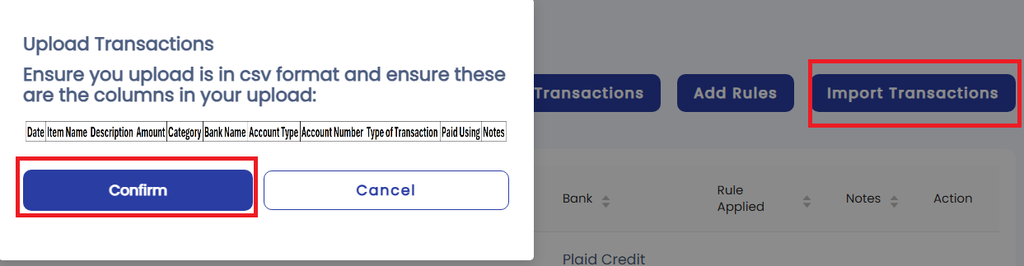
CSV Template Format: #
The template includes the following columns:
| Date | Item Name | Description | Amount | Category | Bank Name | Account Type | Account Number | Type of Transaction | Paid Using | Notes |
| YYYY-MM-DD | Text | Text | Number | Text | Text | Text | Number | Expense or Income | Cash or Cheque | Text |
- User selects the CSV file from the system.
- User gets the confirmation after importing the transactions.
User Journey: Add a Rule #
Goal: Automate the handling of transactions by defining rules that match specific criteria and apply changes such as name, category, or notes.
Entry Points: #
- From Transactions tab → “Add Rule”

Steps: #
- User clicks “Add Rule”
– Click → “+ Add Rule

– Opens the New Rule Form
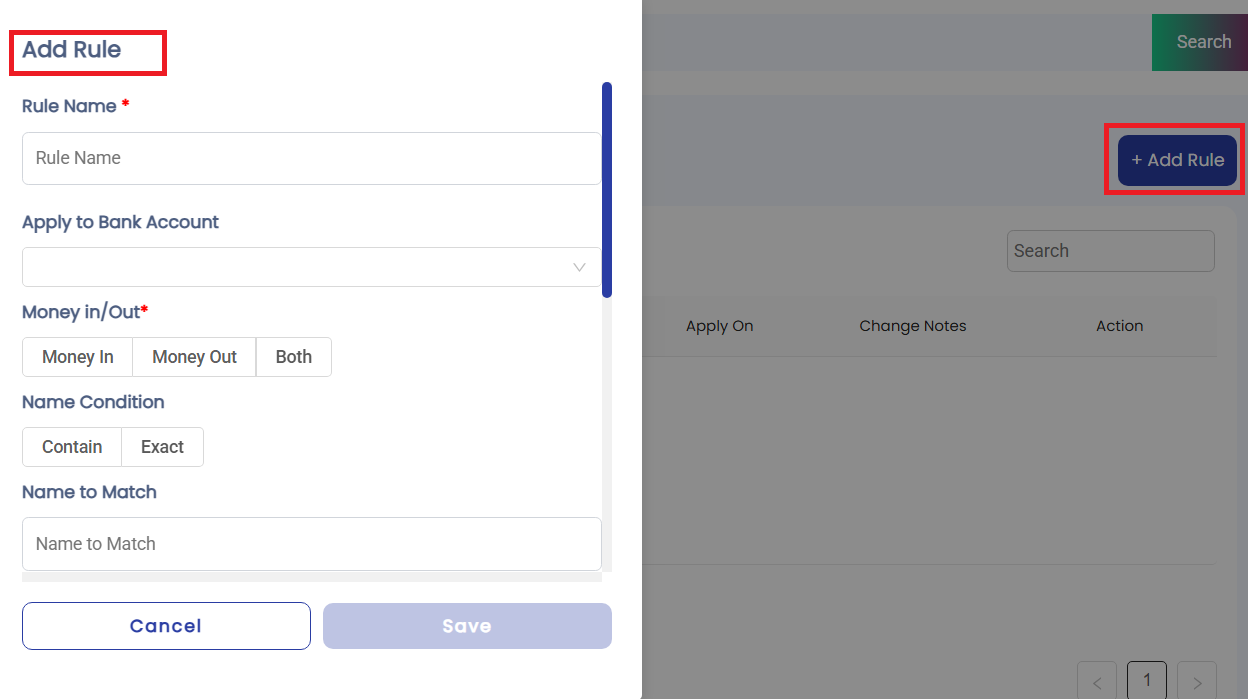
2. User fills out the form:
- Rule Name:
A custom name for easy identification (e.g., “Amazon Purchases”) - Apply to Bank Account:
Dropdown with all linked accounts
(Can be “All Accounts” or specific one) - Transaction Type:
- Select button: Money In, Money Out, or Both
- Match Type:
- Contains → Flexible partial match
- Exact → Full string match
- Name to Match:
Enter keyword or phrase to look for in transaction name
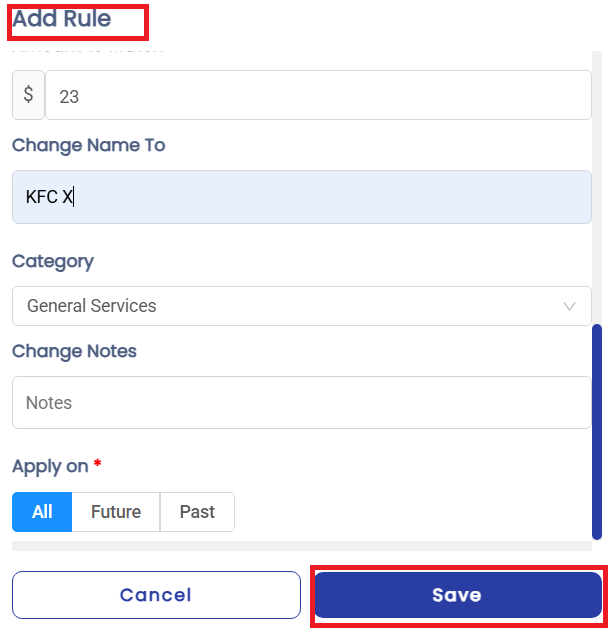
(e.g., “Amazon”, “Uber”) - Amount Condition (Optional):
- Select button: Equals, Greater than, Less than, etc.
- Amount to Match:
Value to compare against the transaction amount - Change Name To:
Enter new name that will replace the original
(e.g., “Amazon – Shopping”) - Assign Category:
Select category (e.g., “Shopping”, “Transportation”) - Change Notes (Optional):
Add or replace notes automatically - Apply Rule To:
- All Transactions
- Future Transactions Only
- Past Transactions Only
3. User clicks “Save Rule”
User Journey: View & Manage All Rules #
Goal: Access, review, edit, and manage all transaction rules set by the user to automate transaction handling.
Entry Points: #
- From Transactions tab → “Add Rules” → “View All Rules”

Steps: #
- User navigates to “All Rules”
- Arrives at the Rules List Screen

- User sees a list of saved rules, each displayed as row with:
- Rule Name
- Applies to Accounts
- Change Category
- Applied on: All / Future / Past
- Changes Notes
- Actions: Update/Delete
User Actions on Rule List:
#
- Edit a Rule:
– Click “Edit” to reopen the rule form with pre-filled data

– Make changes and resave
- Delete a Rule:
– Click “Delete” with confirmation prompt
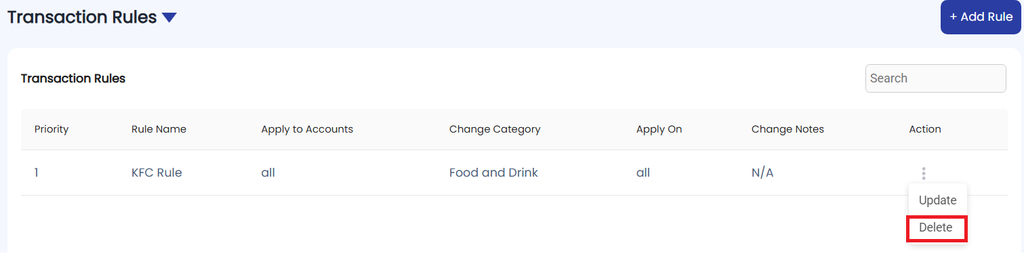

– Immediate effect on future transactions, and optionally undo changes on past ones
User Journey: Apply Filters on Transaction List #
Goal: Allow the user to view only specific transactions based on category and time period.
Entry Points: #
- User lands on Transactions page
- Filters are visible at the top of the transaction list
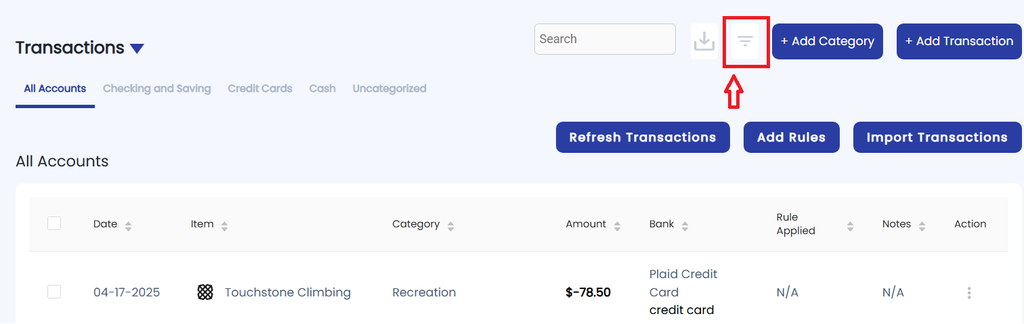
Steps: #
- User accesses the Transactions list
- Sees all transactions by default (no filters applied)
- User clicks or taps on the “Category” dropdown:
- Sees all available categories (including nested subcategories if any)

- Selects one category
(e.g., “Groceries” or “Utilities > Internet”)
- Sees all available categories (including nested subcategories if any)
- User selects a Start Date:
- Opens date picker or calendar input
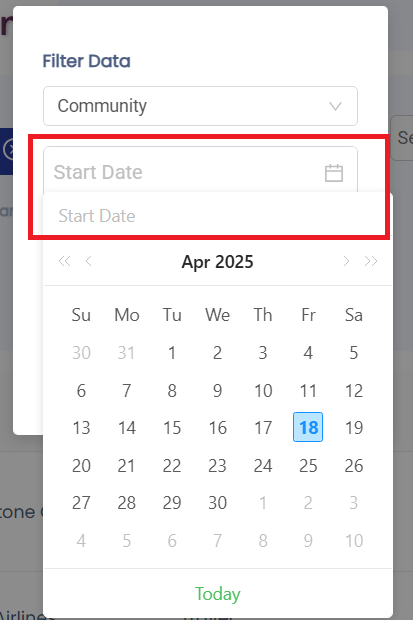
- Selects the beginning of the range
(e.g., March 1, 2025)
- Opens date picker or calendar input
4. User selects an End Date:
- Opens another date picker
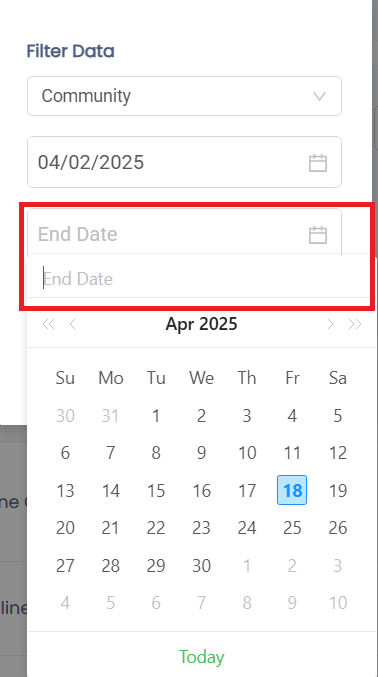
- Selects the end of the range
(e.g., March 31, 2025)
5. User clicks “Apply Filters” button
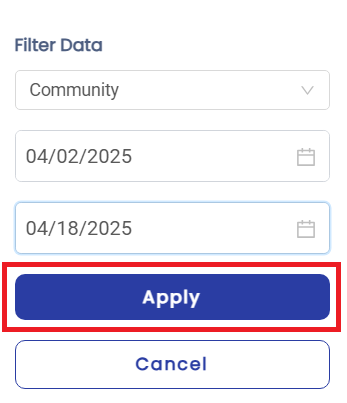
- Page refreshes or updates instantly to show matching transactions
Export All Transactions #
Goal: Allow the user to export their complete transaction as a downloadable file (e.g., CSV, Excel).
Entry Points: #
From Transactions tab → “Export” button

Steps: #
- User clicks “Export Transactions”
- System begins generating file
User Journey: Show All Transactions #
Goal: Provide users with a comprehensive view of all their financial transactions in one place, with options to interact, filter, and manage them.
Entry Points: #
- From Main Navigation Menu → Tap/Click on “Transactions”
Steps: #
- User selects “Transactions”
- Navigates to the Transaction List Screen
- System displays full transaction list
- Optional interactions available per transaction:
- Update Transaction
- Delete Transaction
- History of Transaction
User Journey: Update Transaction #
Goal: Allow the user to edit and update the details of a previously recorded transaction.
Entry Points: #
- From Transactions List View → Click on “Three Dots”
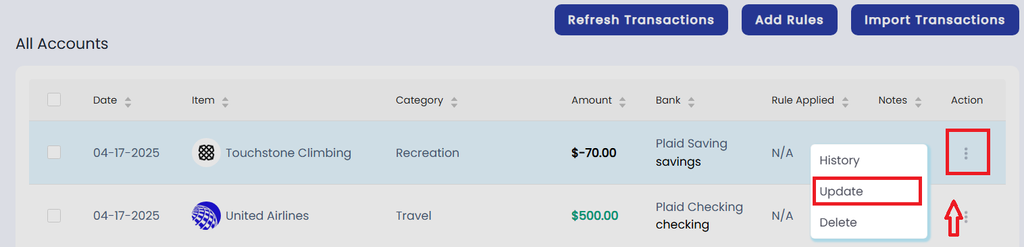
Steps: #
- User clicks on “Edit”
- Opens the Update Transaction Form
- Pre-filled with current transaction data
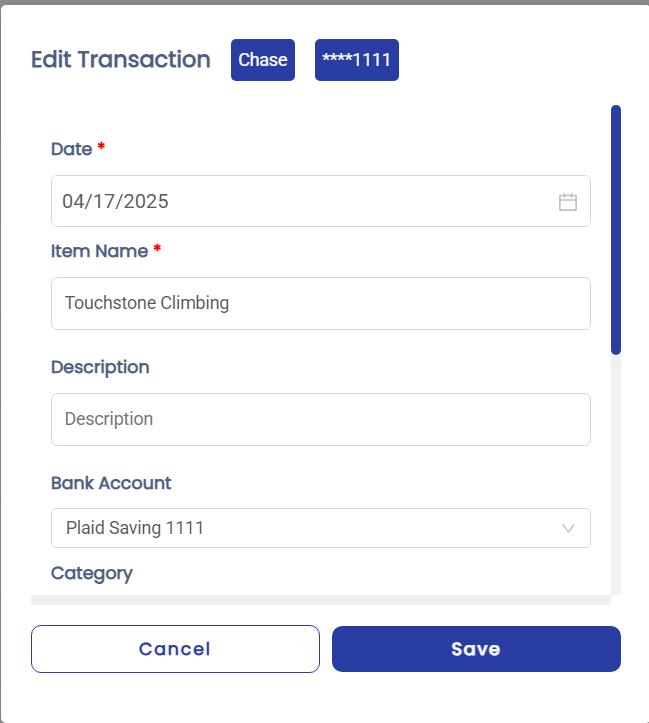
2. User makes necessary changes to one or more fields:
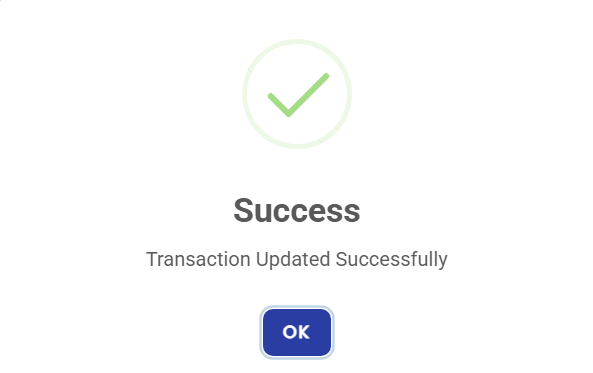
3. User clicks “Save”

4. User gets the confirmation
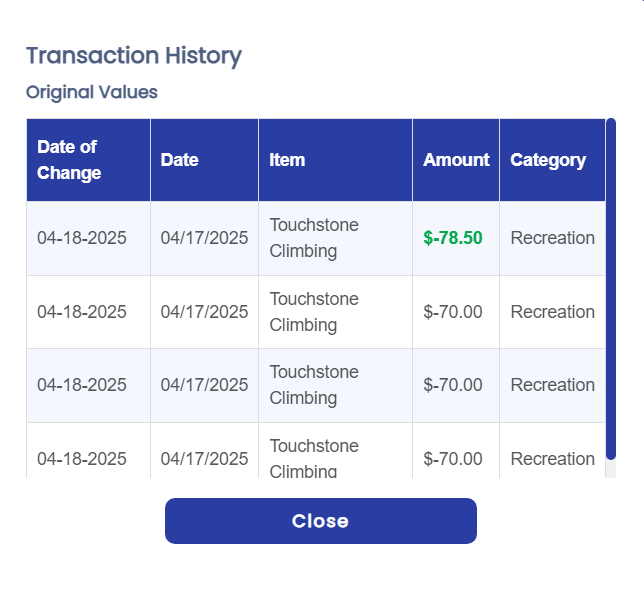
User Journey: View Transaction History #
Goal: Allow users to see a record of all changes made to a specific transaction.
Entry Points: #
- From Transaction List → Click on “Three Dots”

Steps: #
- User clicks “Three Dots” and selects the History option
- Opens up the Transaction History
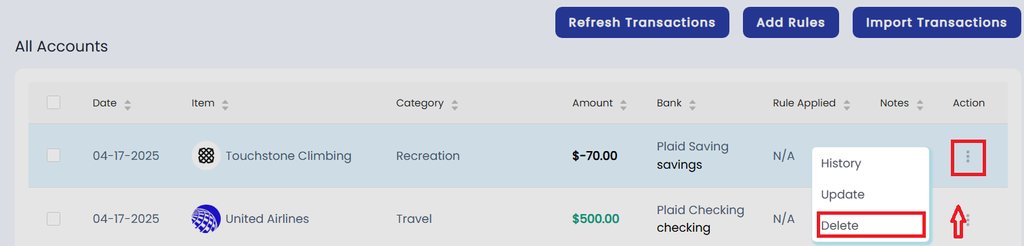
User Journey: Delete a Transaction #
Goal: Allow users to remove a transaction from their account while ensuring clarity, confirmation, and the ability to prevent accidental deletion.
Entry Points: #
- From Transactions List View → Click on “Three Dots”
Steps: #
- User clicks “Delete”
- A confirmation modal appears
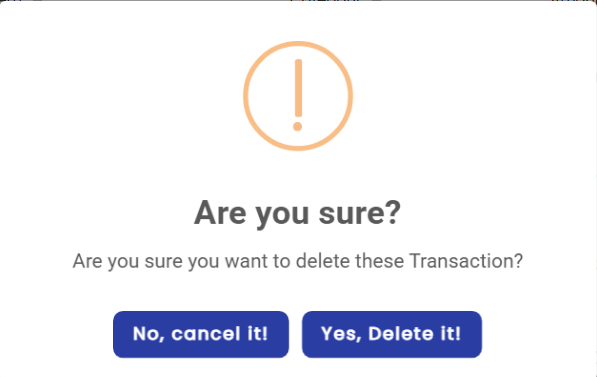
- A confirmation modal appears
- User confirms deletion
- Clicks “Yes, Delete it!”
- Alternatively, cancels the action with “No, cancel it!” button


