
User Journey: View Source of Income Overview Page
Goal:
To view a categorized summary and detailed breakdown of all income sources, including active and passive income.
Entry Point:
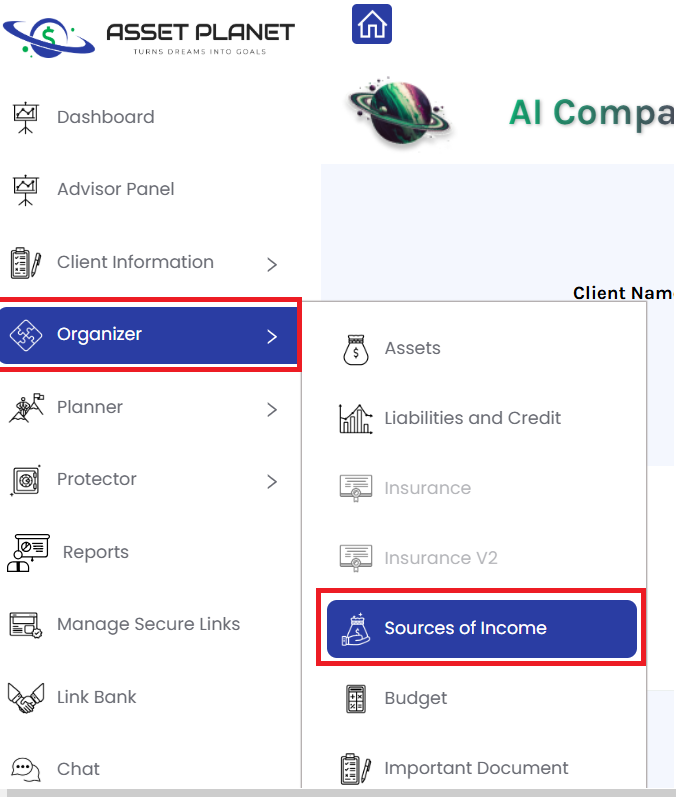
User clicks on the “Source of Income” tab under the “Organizer” menu.
Steps:
- User selects “Source of Income” from the Organizer tab.
- System navigates to the Income Overview Page.
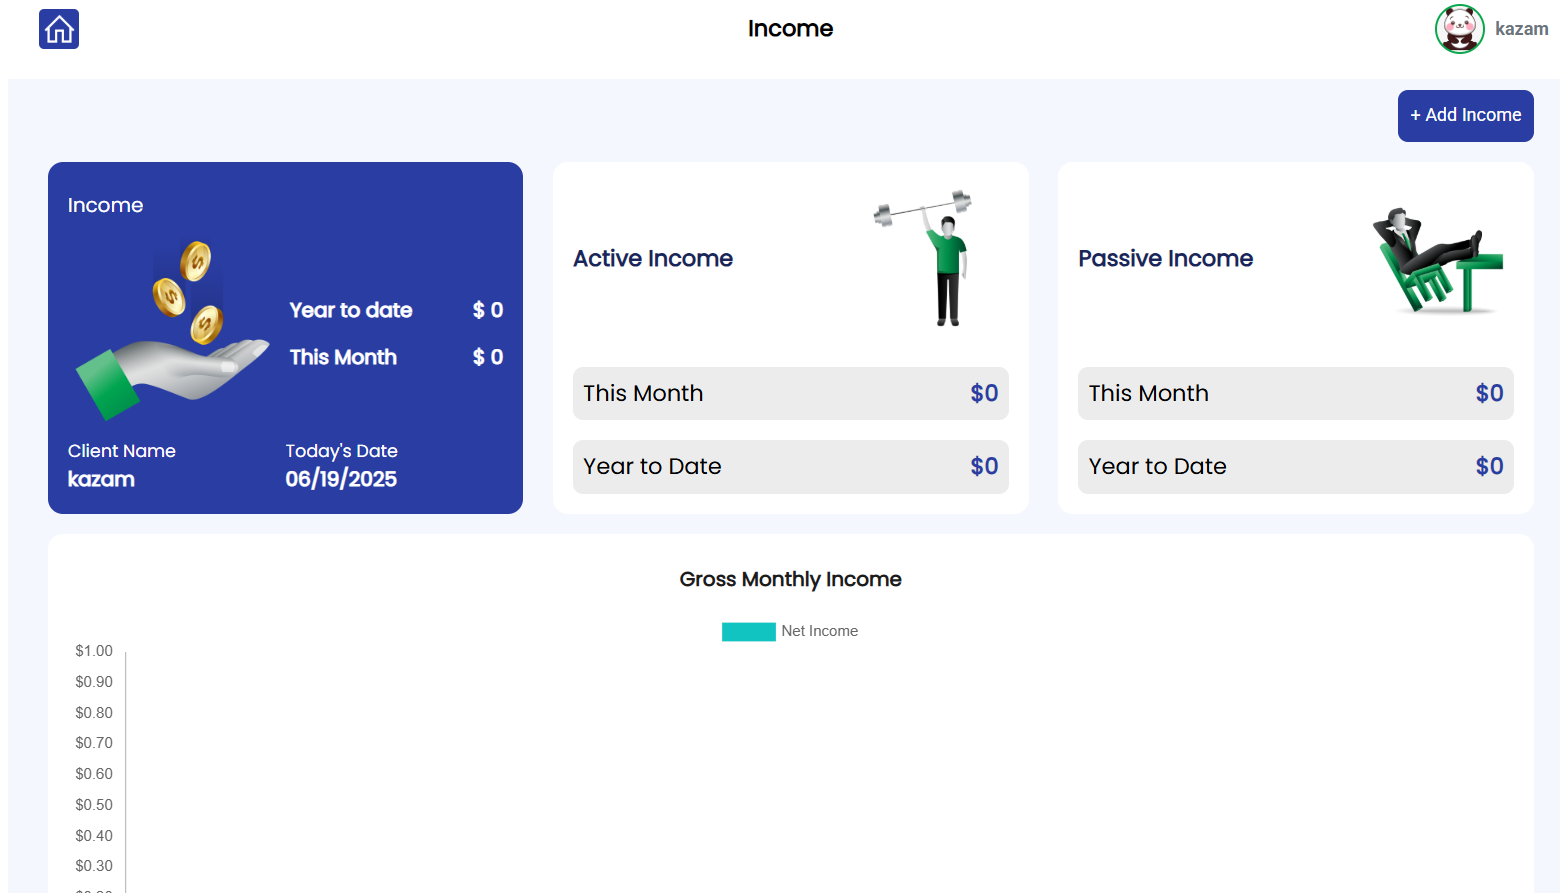
3. User sees three summary cards at the top:
Passive Income
Total Income
Active Income
Each card displays This Month and Year-to-Date statistics.

4. User scrolls down to a Gross Monthly Income graph, with:
- Y-axis: Income amount
- X-axis: Months

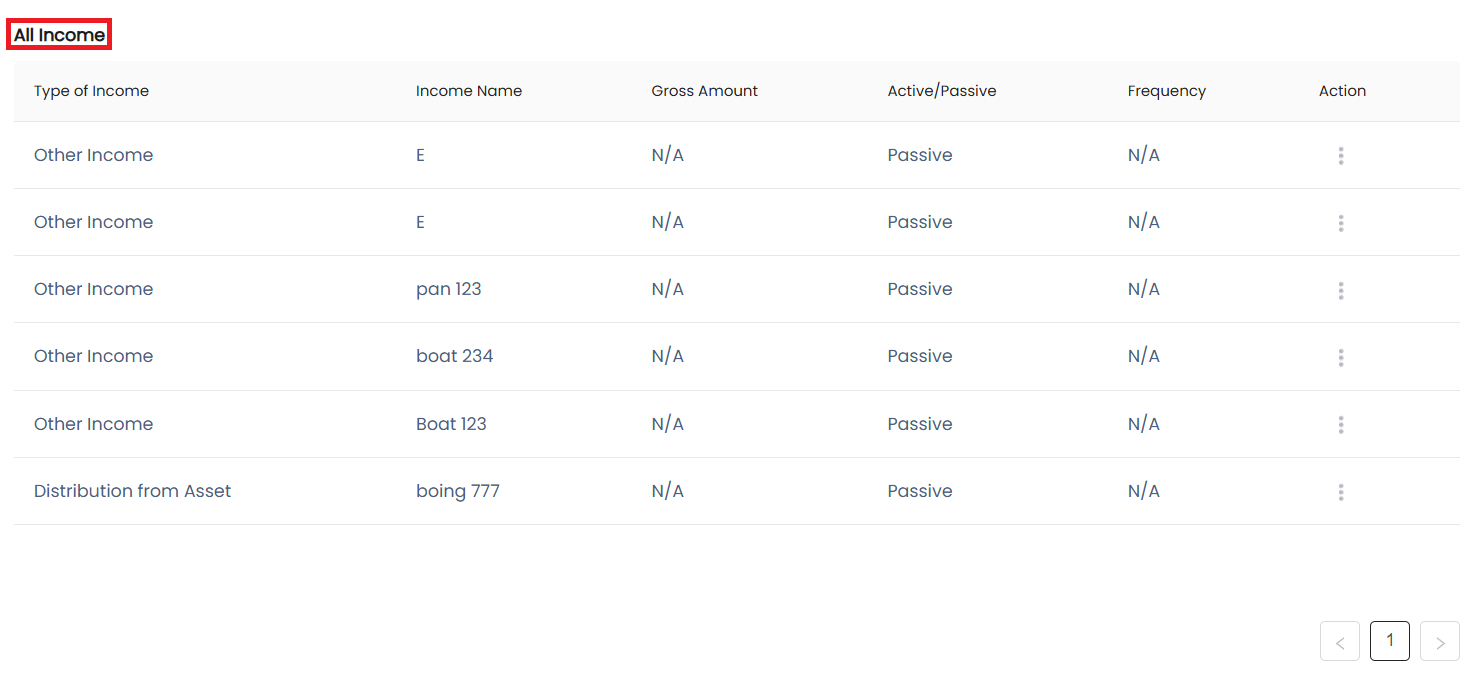
5. User scrolls further to view a table listing all income entries, including details like name, type, amount, frequency, and source.
User Journey: Add Income
Goal:
To add a new income entry by selecting its type, sub-type, and sub-sub-type from a single unified interface and entering relevant details.
Entry Point:
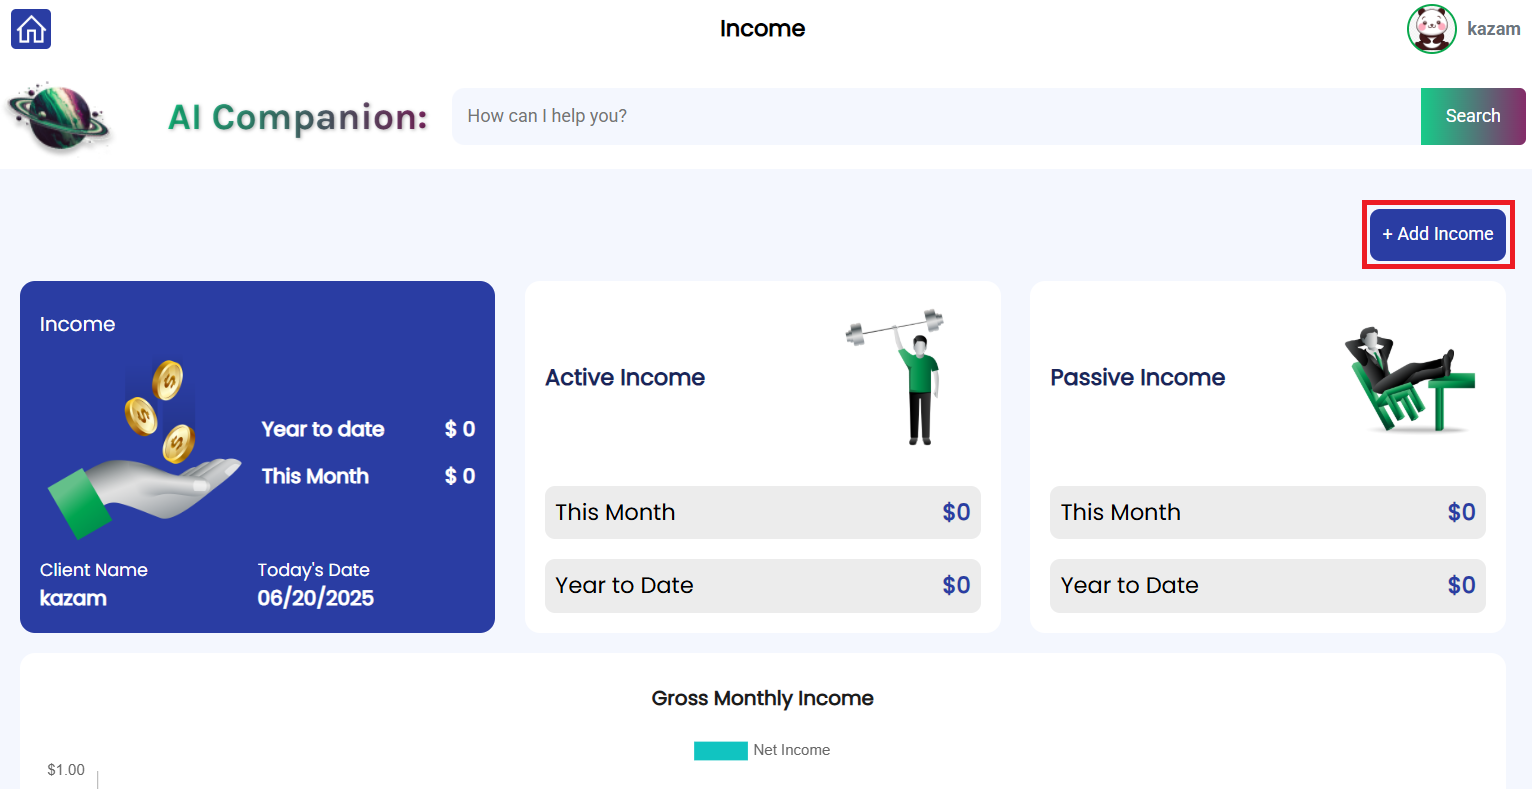
User clicks the “Add Income” button on the Income Overview Page.
Steps:
- User clicks the “Add Income” button.
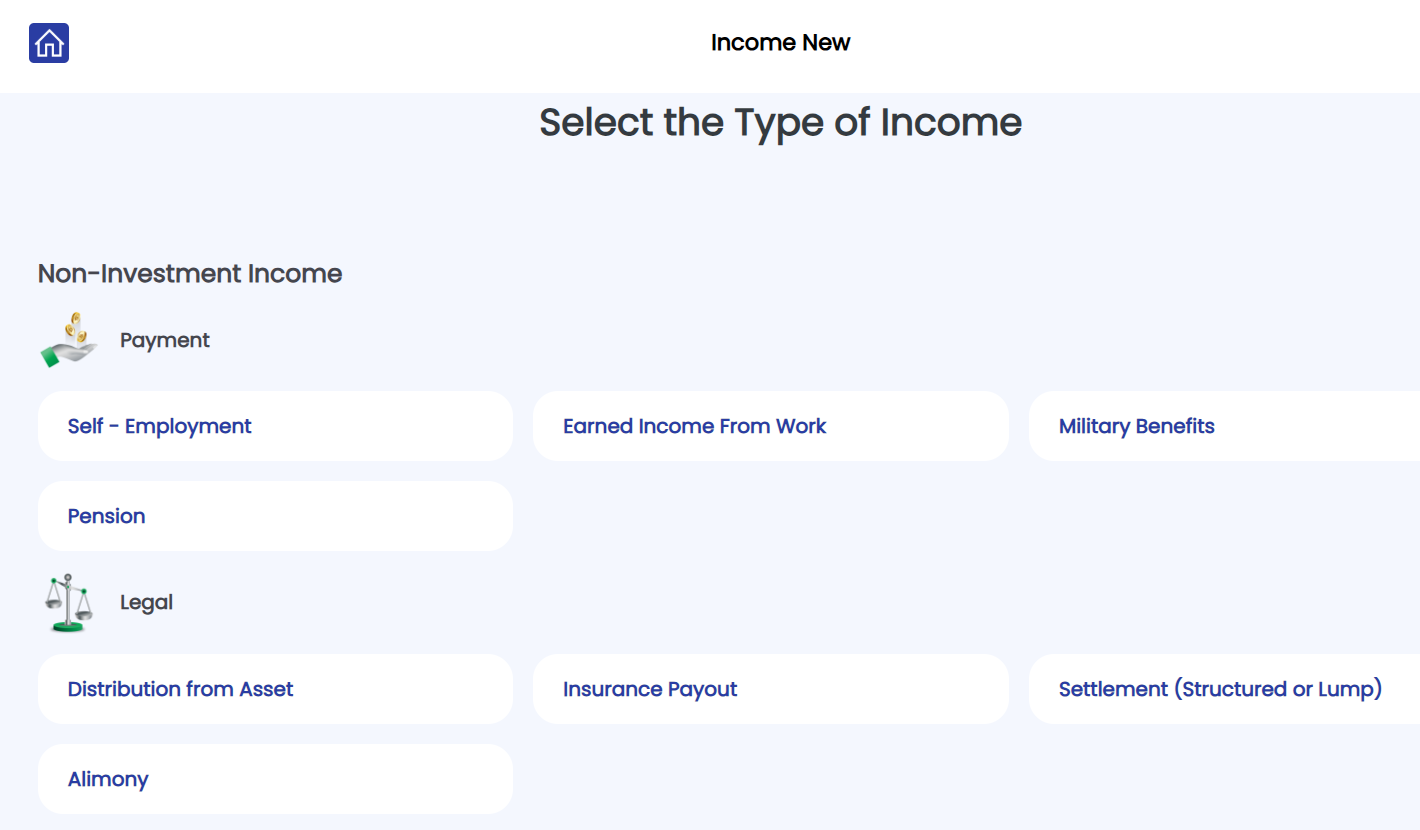
- System displays a single-page layout with a hierarchical list of:
- Income Types (e.g., Non-Investment Income, Investment Income)
- Sub-Types (e.g., Payment, Legal, Contract, Stocks)
- Sub-Sub-Types (e.g., Dividends, Capital Gains under Stocks)
- Sub-Types (e.g., Payment, Legal, Contract, Stocks)
- Income Types (e.g., Non-Investment Income, Investment Income)

- User navigates through the hierarchy by clicking on:
- A type → sees sub-types underneath
- A sub-type → sees sub-sub-types underneath
- User selects a sub-sub-type, which activates the income entry form.
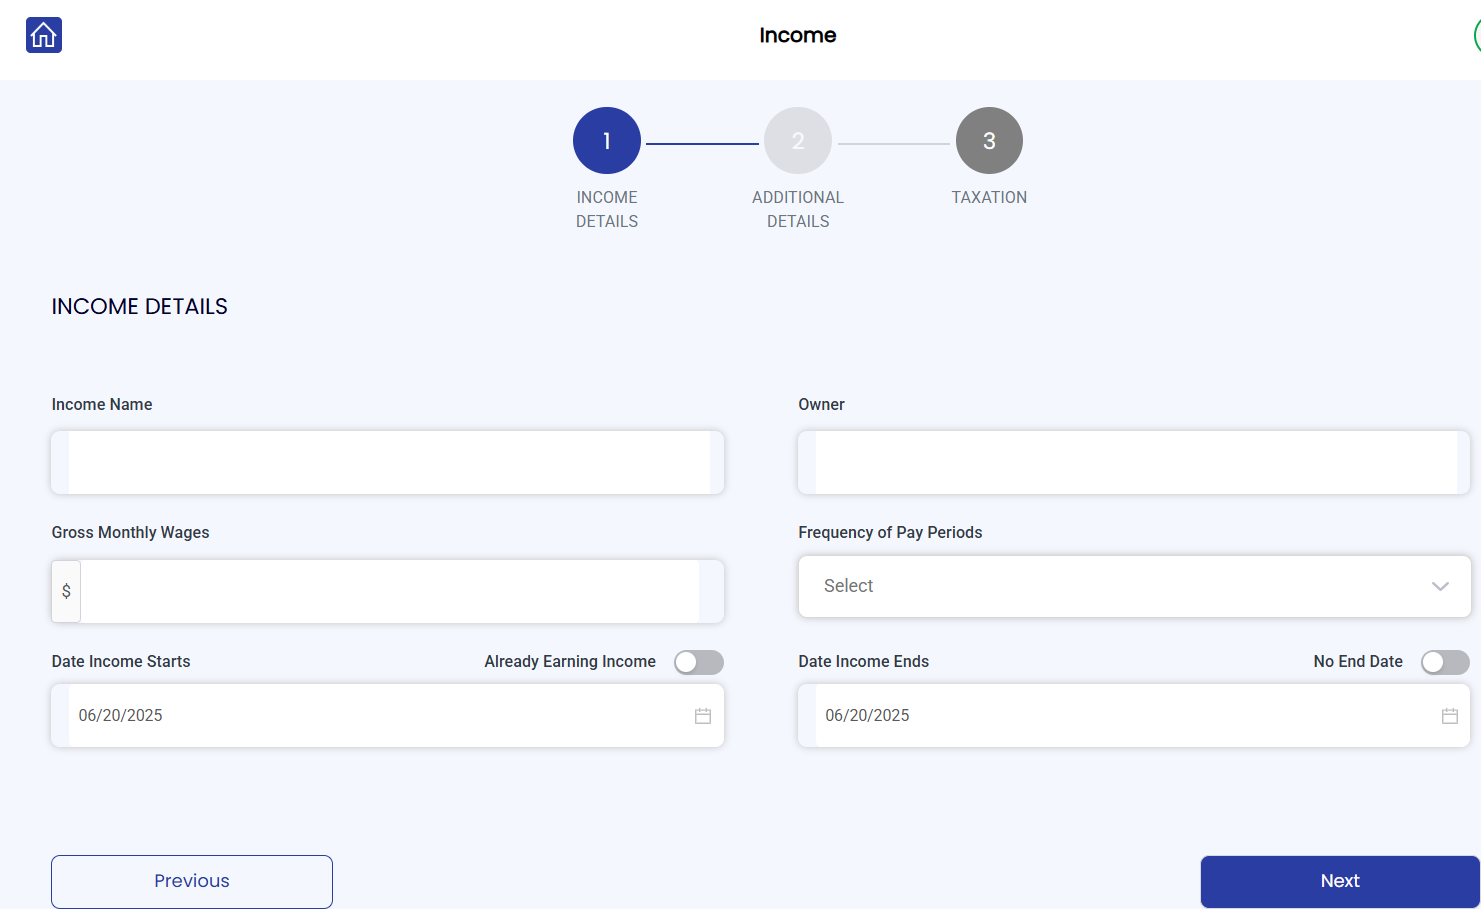
5. User fills out the income details and clicks “Submit”.
6. System saves the income entry, updates the income summary cards, graph, and listing table.


